
Frequently Asked Questions
How do you wind onto a cross arm spindle?
-

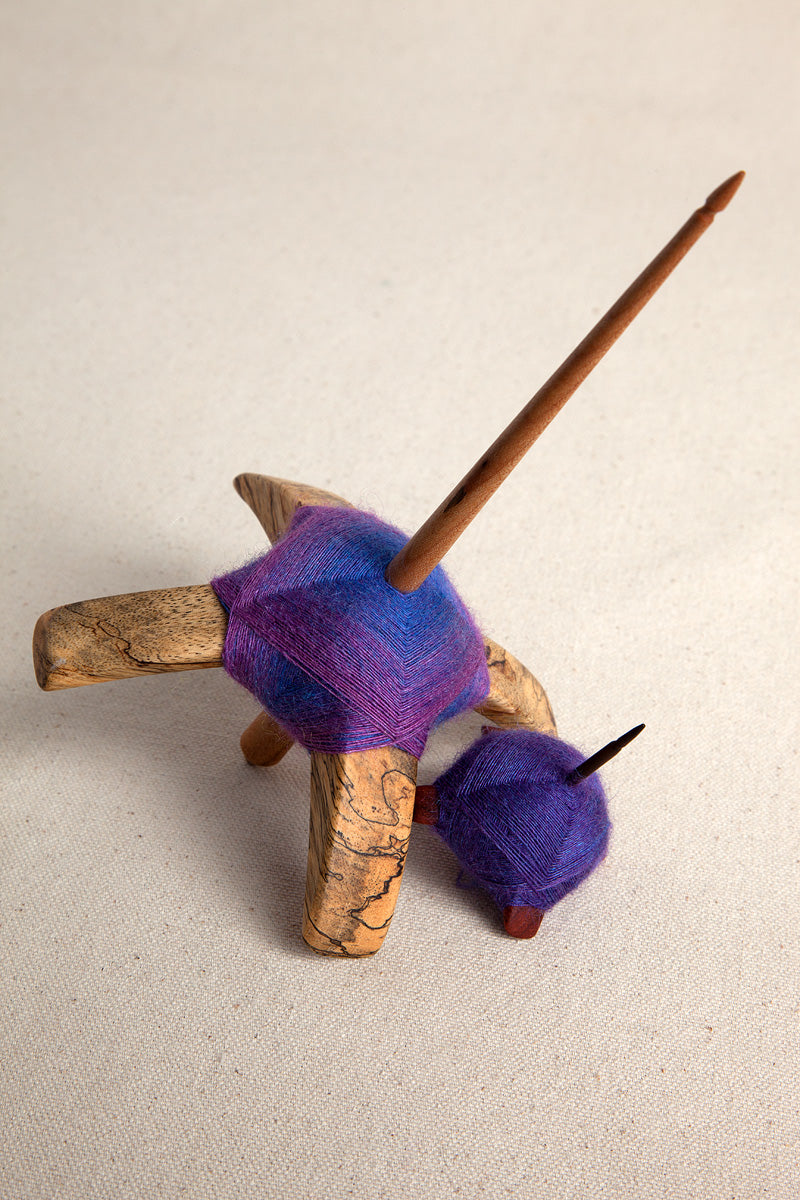
The most common way of winding onto a cross arm spindle is to go over 2 and under 1 but this is by no means the only way to wind onto a cross arm spindle. This style of winding produces a turtle shell shape (god's eye pattern). Many fondly refer to the cop of cross arm spindles as turtles.
Over 2 Under 1
Start winding on by going over two under one. Start along the shaft and then work your way outwards. Once a layer is complete return to starting winding a new layer around the shaft.
-

Photo by Sheepmademedoit on Ravelry
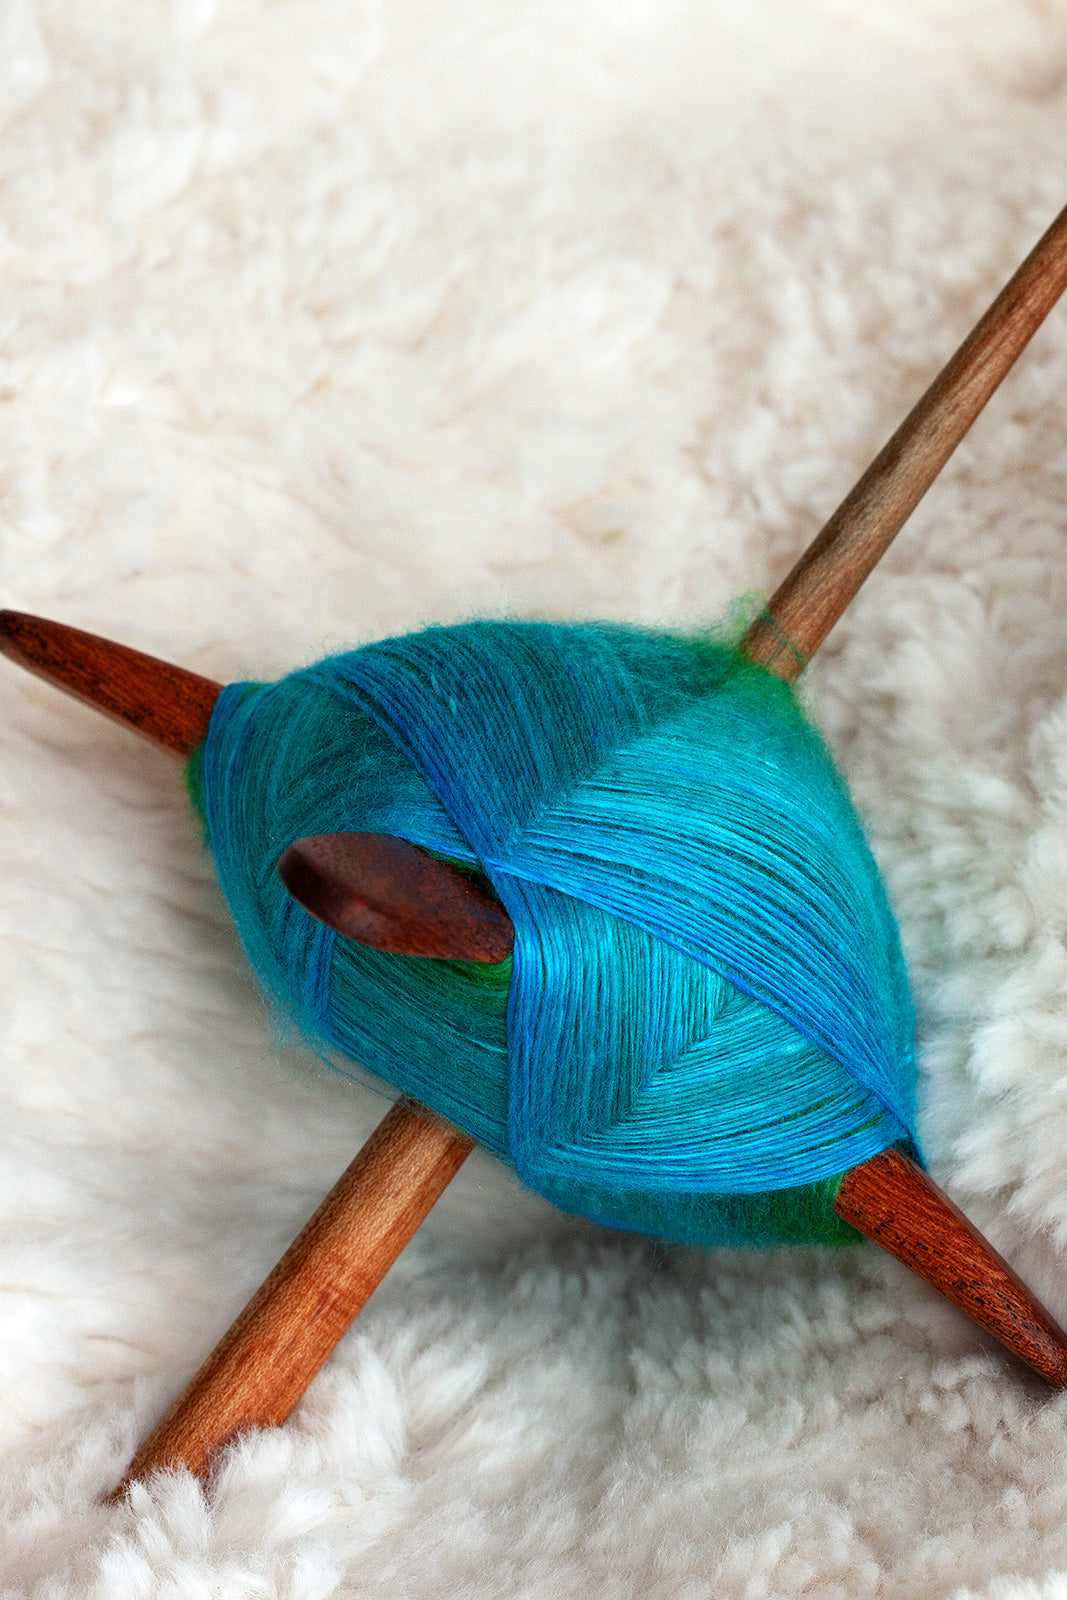
Over 2 Under 1 (upside down)
To create a rounder turtle some spindlers may opt to alternate winding from the top for a couple layers to winding from the bottom for a couple layers. By doing this your turtle forms its round shape from above and below.
-

Photo by Elefanti72wilma on Ravelry
Winding Around 2
To form this pattern you wind around two arms several times. The amount you wind around the two arms is entirely up to you.
When you are ready to rotate simply rotate the spindle one arm and then wind around two arms.
Here is a video on how to do this wind on. -

Photo by Wanda Jenkins
Basketweave
This wind on is similar to the "Winding Around 2" method only with more precision on layer building to produce a basketweave effect.
When the wraps get to the outer edge the wrapping reverses building back to the center.
Here is a video on how to do this wind on.
https://youtu.be/8I7XHDkaOXE?si=PWPUSgZGPeNewonz -

Photo by fastfrog on Ravelry
Ball Winding
This method is similar to "Winding Around 2" however you wind at a diagonal so you are also winding to the opposite side of the shaft.
When you are ready to rotate simply rotate the spindle one arm and then wind around two arms. -

Photo by newfiespinner on Ravelry
Temporary Cop
This method of finding is commonly used when Plying on the Fly to store singles before you are ready to chain ply. This is also a great way to temporary store singles when you are wanting to focus more on the spinning than the winding. The temporary cop can be butterflied off and wound on in your method of choice at a later time.


How do you wind onto a 6 arm spindle? (Merlin & Weaverbird)
-

Over 3 Under 2
Winding over 2 followed by under 2 forms a centralized triangle shape.
-

Over 3 Under 1
Winding on Over 3 Under 1 produces a star shape.


How do you know when a spindle is full?
Determining whether or not your spindle is full is based on a couple of factors. The major ones are the weight of your spindle and the weight of the singles you are spinning. Generally speaking, when spinning the ideal range of singles on a spindle you should be able to fit around 2 times the weight of the spindle in singles.
If you spin singles that are finer than the ideal weight of a given spindle you may find that your spindle will consider itself full sooner. If your spindle is not building up enough twist fast enough for the yarn you are spinning you will find that the single wants to drift apart possibly resulting in your spindle dropping. This means that heavier spindles while you may be able to spin quite fine weights on them the resulting turtle will not be able to grow as large.
When spinning the ideal range of yarn on a cross arm you will typically consider a turtle full if your spindle is slowing down too much to accrue enough twist, you are losing sight of the spindle arms, or the overall weight of the spindle with its turtle is no longer comfortable for your hands/arms to manage.
-

These two spindles were used for spinning a sample in the grease. All lanolin was removed using 1:1 lemon juice and olive oil.

Dye has rubbed off onto the spindle shaft
There are a variety of ways to possibly remove discoloration due to dyed fiber. We recommend following these methods in order. Should the method not work try the next one.
Wood Beams
- Remove the shaft.
- Apply generous amount of Wood Beams or other similar wood wax.
- Leave sit for 10-15 minutes
- Wipe away
White Scotch Brite Pad
- Remove the shaft.
- Rub it well with a hand-sized piece of a white Scotch Brite pad, 7445 — usually found in the automotive sections or stores. If you can’t find any then use a green Scotch Brite pad. Green SB is rougher which is why we recommend the white.
320 Grit Sandpaper
Lay the shaft on a towel on a table then roll the shaft with your non-dominate hand with the 320 grit sandpaper lightly against the shaft as you roll.
Sanding the shaft while it’s on a towel will avoid putting too much pressure on any one point or risk the chance of breaking it. Rotating it as you sand will help you to sand the round shaft more evenly.
I'm not sure what type of spindle I have?
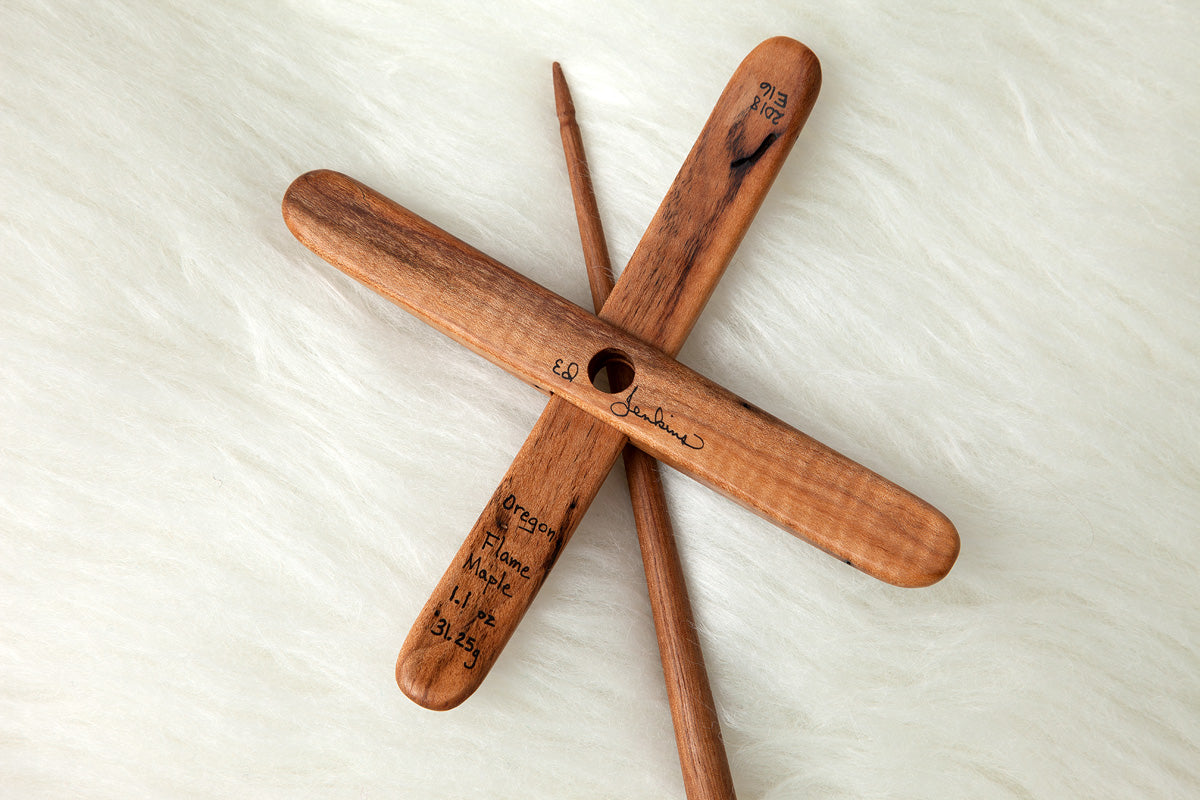
On the underside of each Jenkins spindle, Wanda writes the year the spindle was made, the spindle type along with the number your spindle is for the year for that type, and the type of wood.
Aegean - A
Bee Hummingbird - BH
Delight - D
Dovekie - Dv
Dragonfly - Df
Egret - E
Finch - F
Gooney - G
Kuchulu - K
Lark - L
Merlin - M
Phoenix - Ph
Road Runner - RR
Swan - S
Weaverbird - Wb
Wren - W